Drawing your own floor plan might sound like a job for architects or techies. But the truth is, anyone can learn how to do it — to some extent – depending on the purpose of the drawings.
Let’s start with the basics.
What Exactly Is a Floor Plan?

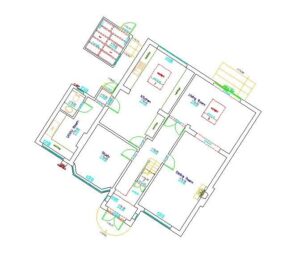
A floor plan is a bird’s-eye view of your space — think of it as a map that shows the layout of rooms, walls, doors, and windows to scale. Architects use it to design, estate agents use it to sell, and renovators use it to plan.
But here’s the thing: you don’t need to be a professional to draw one.
With a bit of patience and the right tools, you can create your own floor plan for:
- Space planning
- Interior design
- Property listings to sell
- 3D modelling and visualisation
Even if you need plans for renovations, it’s possible with the right software or skills. But of course it’s risky. Any error in plans that are relied on for construction can be extremely costly in both time and money. For this reason, we do not recommend drafting your own plans as part of a construction project unless you are very experienced.
The golden rule? Accuracy.
Tools You’ll Need to Get Started
For hand-drawing:
- Graph paper: Helps keep lines straight and to scale.
- Pencils and an eraser: Always handy for amends.
- Tape measure or laser measurer: The laser option is faster and super accurate.
- Ruler and set square: Essential for neat right angles.
- Notebook and clipboard: Perfect for taking notes and sketches as you go.
Drawing digitally?
These tools are your friend if you don’t need 100% accurate drawings i.e for planning furniture layouts or for selling aproperty:
- SketchUp FREE Version: Great for 3D floor planning.
- RoomSketcher: Easy, intuitive and runs on nearly everything.
- Floorplanner: Free and brilliant for 2D/3D layouts.
These tools are best if you do need accurate plans i.e. for building an extension etc
- SketchUp Pro Version: Great for 3D floor planning.
- AutoCAD: Serious kit for those after precision — but expect a learning curve and a hefty price tag.
Pro tip: Don’t commit to software before testing a free trial.
Step 1: Measure Your Space Like a Pro
Here’s where most DIYers trip up. If your measurements are off, your plan will be too.
How to measure properly:
- Start with perimeter walls — work clockwise from one corner.
- Double-check measurements ‘close’ — opposite walls should tally up.
- Note door/window positions — measure from the nearest corner.
- Don’t forget fixed features — kitchen units, fireplaces, radiators.
- Mark room orientation — North, South etc.
Accuracy tip: Always measure at the base or ceiling line for straightest lengths. Always measure twice.
Step 2: Start Sketching Your Plan
You’ve got the numbers — time to bring them to life.
If drawing by hand:
- Start with outer walls, then add interior ones.
- Thicker lines for exterior, thinner for internal is standard.
- Use a straightedge or set square for neat, accurate lines.
- Mark out windows and doors (use arcs to show door swings).
- Add furniture or fixtures to help visualise space (to scale!).
Labelling tip: Mark each room clearly and include dimensions. Add a north arrow and a scale bar to polish things off.
Step 3: Digitise Your Floor Plan (or Finish It by Hand)
Once your sketch is accurate and clear, you’ve got two options: finish it off by hand or switch to digital.
Option 1: Hand-drawn finish
- Ink over your pencil lines with a fine liner — thicker pens (0.5mm) for walls, thinner (0.3mm) for annotations.
- Add in symbols (doors, windows, furniture) neatly.
- Use tracing paper for clean overlays if needed.
- Scan or photograph your final plan for a digital backup.
Option 2: Go digital
Using apps like RoomSketcher, Floorplanner, or MagicPlan, you can recreate your hand sketch and build it into a clean, more professional-looking plan.
Key digital perks:
- Scales are built-in — just enter lengths and angles.
- Easy to adjust — tweak layouts without redrawing.
- Add furniture, textures and even generate 3D visuals.
- Export as PDFs or DWG files for printing or sharing.
Top tip: When using apps, always double-check that you’ve set the right scale and measurement units.
Don’t use apps for construction drawings. There’s a good reason why professionals don’t use them. They will suffice only for plans you intend to use on RightMove or for interior design projects.
DIY Floor Plan Tools Compared
Not sure which software’s right for you? Here’s a side-by-side comparison of the best DIY tools on the market:
| Tool | Cost | Best For |
| RoomSketcher | Free basic, ~£55/year Pro | Interior design, plans for selling |
| MagicPlan | Free Starter, £10–£30/mo | Interior design, plans for selling |
| Floorplanner | Free for basic, freemium | Interior design, plans for selling |
| AutoCAD | £2000+/year | High precision drafting for construction |
| SketchUp Pro | £300+/year Pro | Acceptable drafting for construction |
If you’re just doing a home layout or testing ideas, Floorplanner or RoomSketcher offer a brilliant balance of ease and power. AutoCAD is best left for professionals unless you’re up for a serious learning curve.
Extra Tips to Level Up Your DIY Floor Plan
Even if you’re just sketching ideas, these pro tactics will make your plan easier to understand — and more useful down the line.
1. Use a Title Block
Don’t skip this. In the bottom corner of your drawing, include:
- Your name
- The project name
- Drawing date
- Scale used
This gives your plan more of a professional touch — and makes it clear what version you’re looking at months later.
2. Add a North Arrow
Always show orientation. Place a small arrow pointing north — typically upwards on the page — so anyone reading the plan understands how it sits in real life.
3. Label All Fixtures and Features
Make sure you include:
- Kitchen and bathroom fixtures (sink, toilet, hob)
- Built-in wardrobes or cupboards
- Radiators, fireplaces or meters
- Staircases, rooflights or mezzanines if applicable
This makes your plan more than just a box of walls — it shows how the space is actually used.
4. Sketch Furniture Layouts
Planning a lounge, office or bedroom? Drop in furniture symbols to scale. It’ll help you spot:
- Where circulation space is tight
- Whether a door swing clashes with a cupboard
- How many seats you can realistically fit around that table
You can use stencils or cut-outs on paper — or drag-and-drop furniture in most apps.
When NOT to Draw Plans yourself
DIY is great — until it isn’t. There are cases where getting a professional in will save you time, money, and a serious headache later on.
When to bring in the experts:
- Construction projects: You’ll need millimetre-perfect plans.
- Listed buildings: Even internal structural changes may require consent from authorities.
- Complex properties: Irregular layouts, split levels, lofts.
- Compliance with building regs: Some planning applications require certified drawings to demonstrate compliance with building regulations.
- You’re short on time: Professionals can capture everything accurately in one visit.
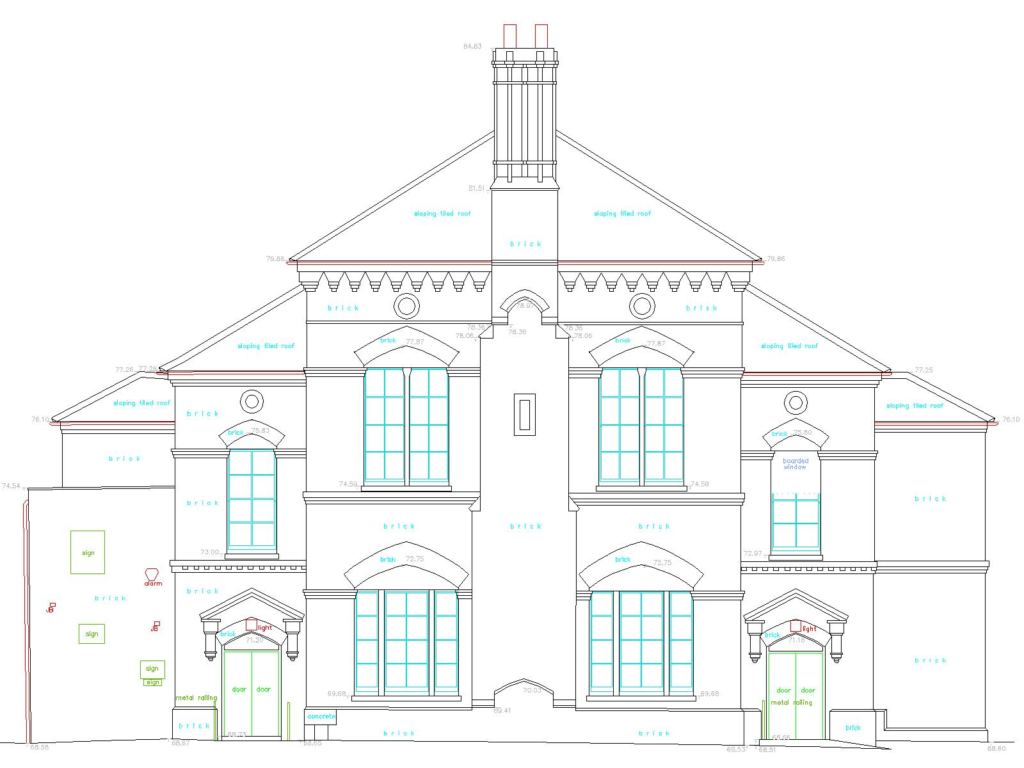
Terrain Surveys offer Measured Building Surveys as a service across the entire United Kingdom. This service means experts will pop round and take all the existing building measurements accurately using a laser, and ultimately deliver a full set of professional digital drawings, including elevations, plans, sections and and perspectives – tailored to your project.
We capture every wall, door, window and architectural detail — then convert the lot into professional CAD drawings or 3D models. Perfect for planning applications, architects, or other renovation work.
Specialist surveyors will get the job, faster, more accurately, and professionally than any DIY effort. Perfect for all construction projects from small extensions to large high-rise commercial buildings.
Get a Professional Floor Plan Today!
If you need high-accuracy, ready-to-use floor plans, Terrain Surveys have you covered.
Contact Terrain Surveys to get a free, no-obligation quote today.
Frequently Asked Questions
Do I need planning permission to change an interior wall?
Usually not. Internal, non-structural changes typically fall under “permitted development”. But if your property is listed, you’ll need Listed Building Consent — even for minor changes.
Can I really use my phone to measure rooms?
Yes — to a point. Apps can scan your room using your phone’s camera. They’re great for quick estimates but double-check every measurement and avoid using apps when there are serious consequences for any error, such as construction projects.
What’s the best scale to use when drawing a plan?
Common UK drawing scales:
- 1:50 for individual rooms (1cm = 0.5m)
- 1:100 for full house layouts (1cm = 1m)
- 1:200 for larger buildings or site layouts
Using graph paper? Each square often equals 0.5m at 1:50 scale.
How do I add dimensions to my drawing?
On paper: draw a line just outside the wall with arrowheads at each end and jot down the distance (e.g. “4200” for 4.2m).
Using software: most tools let you click two points to automatically create and label dimension lines.
